
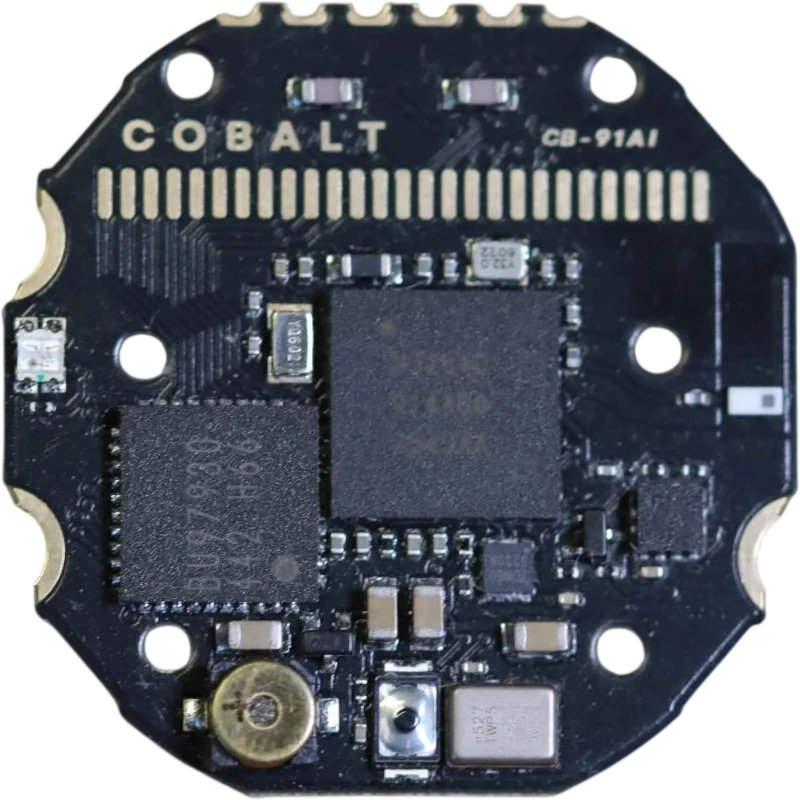
- Nordic nRF52840
- Arm Cortex-M4F processor
- Cobalt Link
- Antenna of the wireless link
- IMU
- Motion: steps, sleep, gestures
- LED RGB
- Light notifications
- Buzzer
- Alarms and confirmations
- Microphone
- MEMS, only listens while you press
Builders
An open watch, to build.
Assemble your own watch and assemble your own app. Every aspect of the Cobalt Watch project is open source. Everything on this page is there so that you can take part in the development and help bring new features to life.
On the phone side, we give you the first building blocks: Cobalt Link, the link between the watch and the phone.
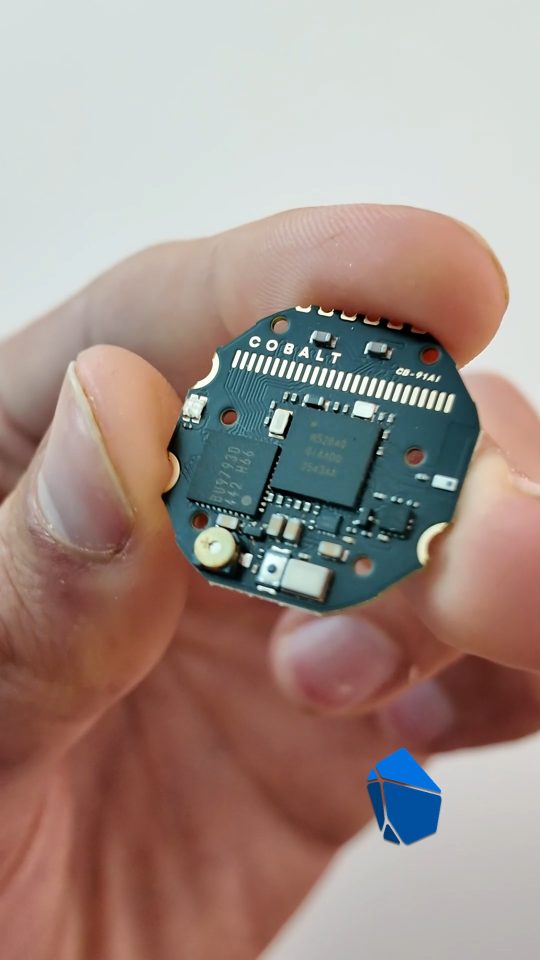 Assemble your watchHow to fit the Cobalt board in your watch.The guide
$ git clone https://github.com/Cobalt-Watch/CB-91AI.git
Assemble your watchHow to fit the Cobalt board in your watch.The guide
$ git clone https://github.com/Cobalt-Watch/CB-91AI.git# the reference client
firmware/tools/cobalt_link.py
# the test vectors
firmware/tests/vectors/ Code your appGet Cobalt Link and build your app on top.Where to start
Simple to fit at home.
You can replace the board yourself, at home. You only need simple tools. Allow five to ten minutes.
See the nine stepsThe code
The code is on GitHub.
firmware/watchthe watch applicationfirmware/libthe drivers (display, microphone, accelerometer, clock) and the logicfirmware/boardsthe board definition for Zephyrfirmware/toolsthe PC tools: flashing, updates, Cobalt Link client, measurement benchesfirmware/tests/vectorsthe test vectors of the protocol and of the note formatfirmware/prebuiltthe MCUboot bootloader, ready to flashThe guideFirst version
Fit the board in your watch.
Before you start. You are opening and modifying a watch that you own. You do it at your own risk, and it ends Casio’s warranty on that watch.
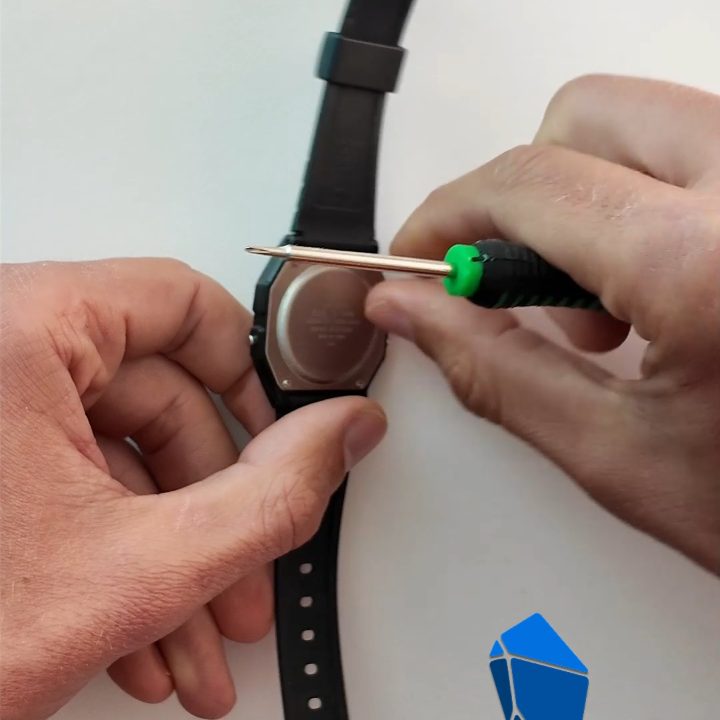 01Take off the backUndo the four screws and lift the back. Put the screws and the rubber seal where they won’t roll away.
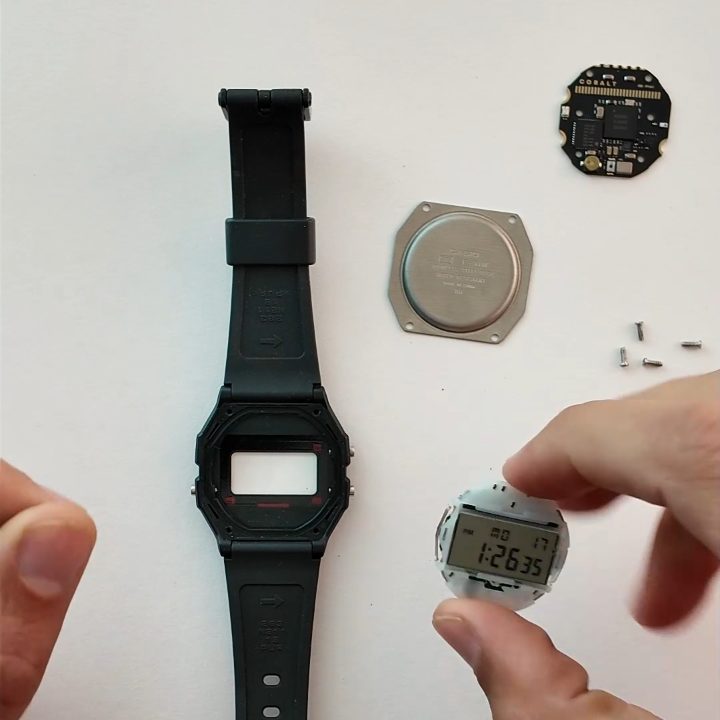 02Take the module outThe module comes out in one piece, display included. The buttons stay in the case.
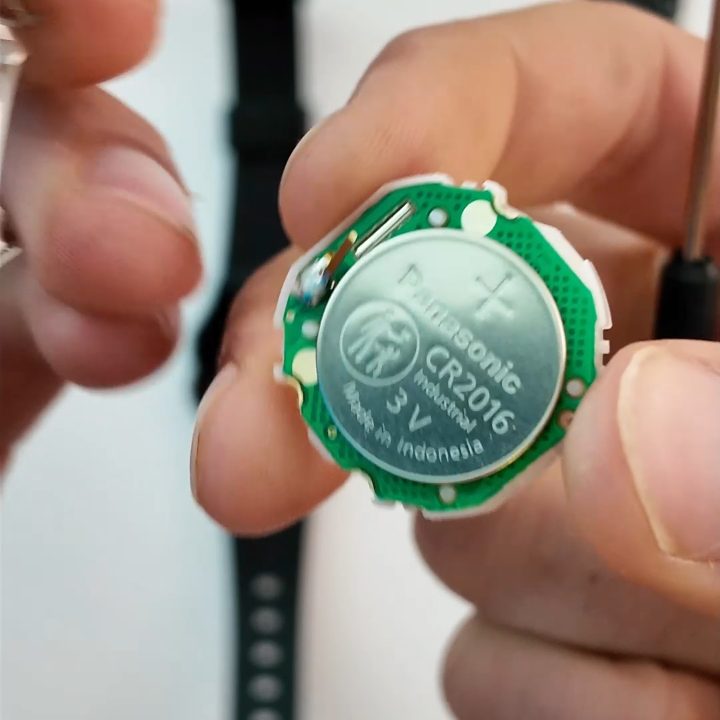 03Take out the cellRemove the CR2016 and keep it. You will put it back at the end.
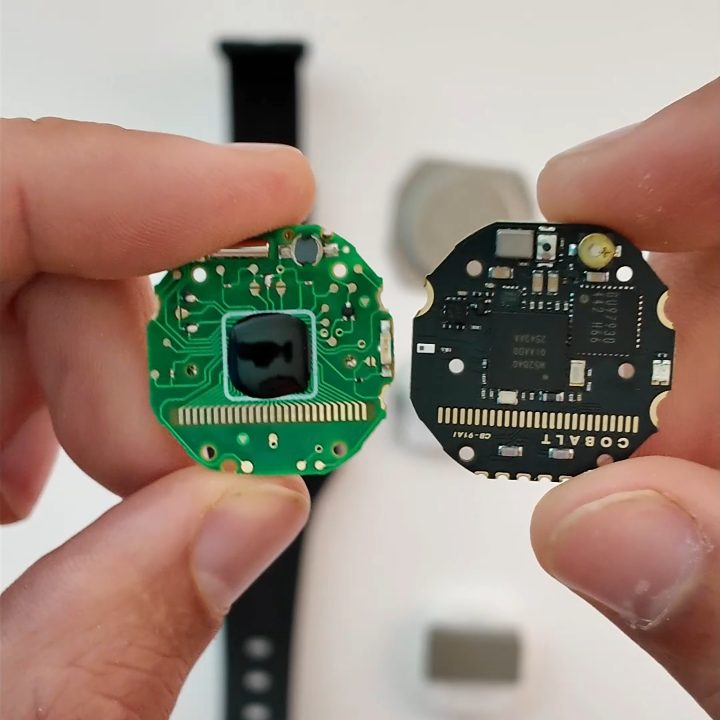 04Separate the old boardUnclip the green board from the white plastic frame. The display stays in the frame. Here it is next to ours.
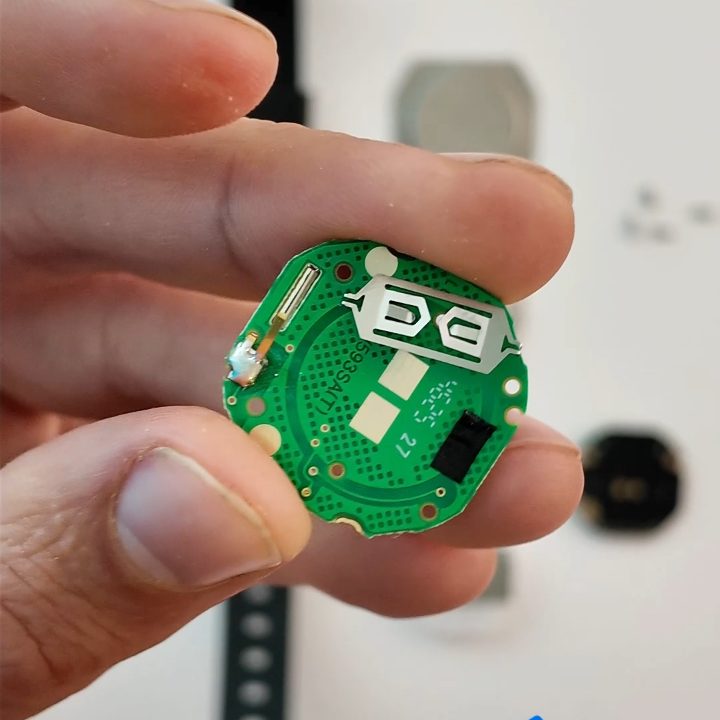 05Move the cell contactWith the tweezers, lift the small metal blade that sits on the old board. It is the contact that touches the cell. It goes on our board, in the same place.
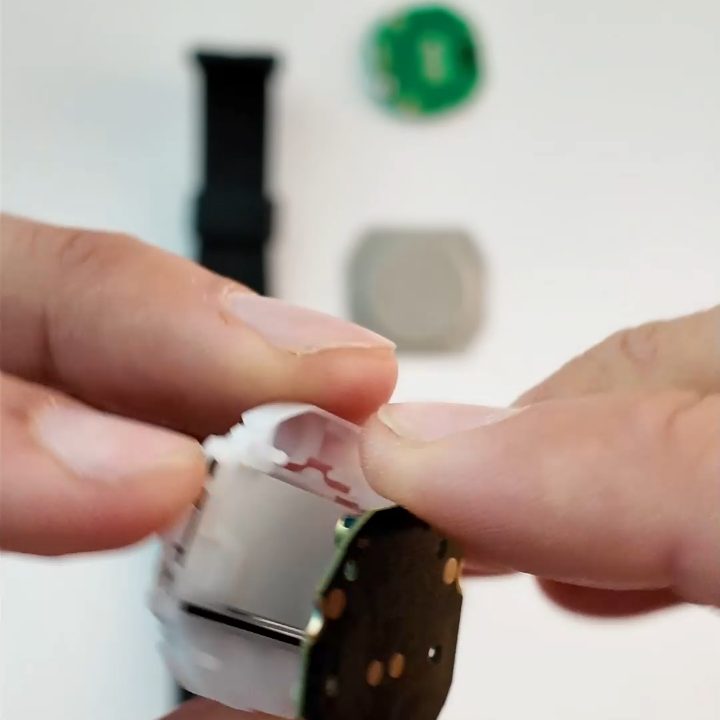 06Put our board in placeComponents towards the display, gold pads towards you. It must sit flat in the frame.
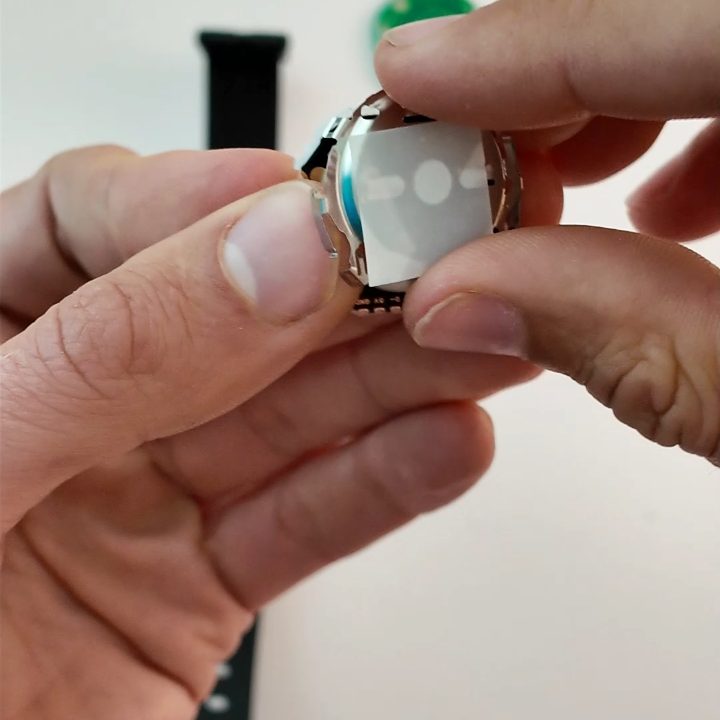 07Put the cell backThe same way round as before, the + side towards you, under its white film. The display comes on.
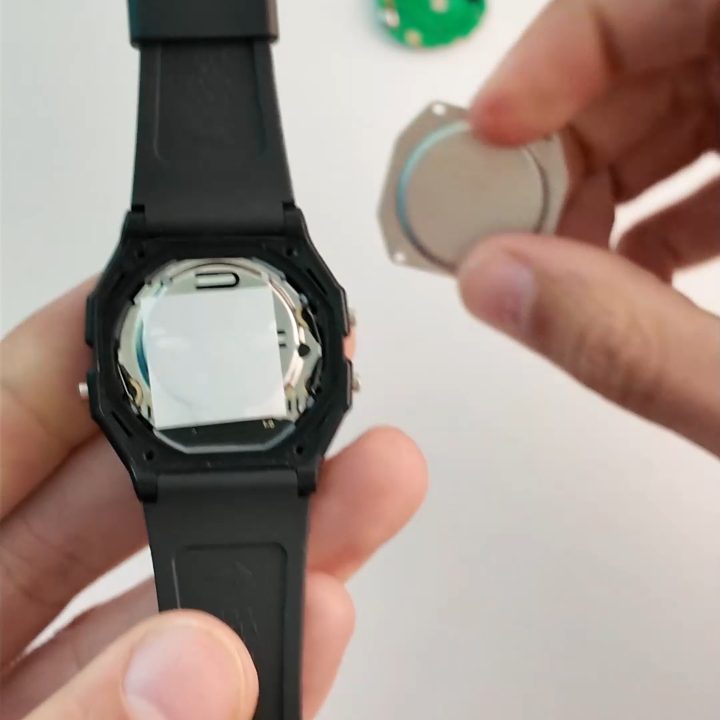 08Close the watchPut the module in the case, check that the seal is in its groove, then close the case and screw the four screws back in.
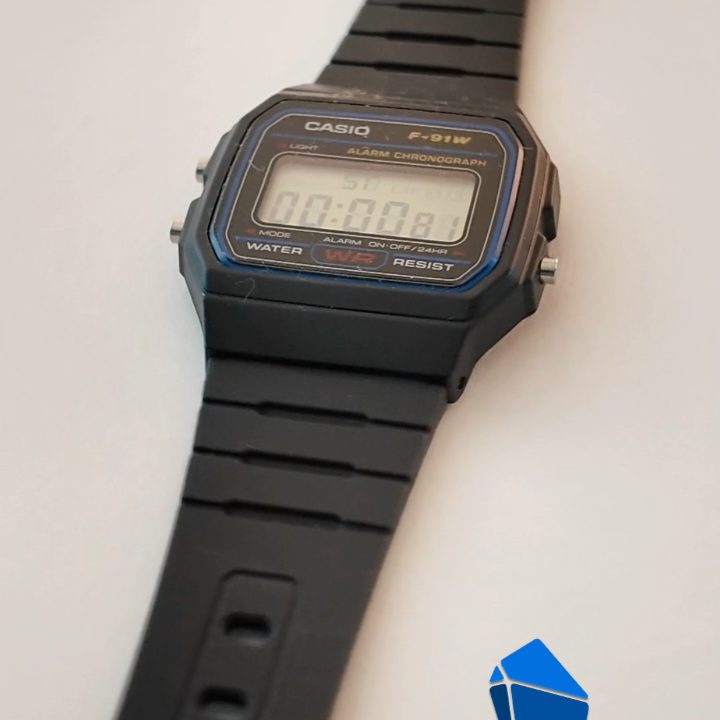 09Link it to the appOpen the app and follow the pairing. The watch shows a code on its display, and you type it on the phone.
The Casio F-91W is shown here only to illustrate compatibility with our board. We make the board, not the watch.
Technical sheet
CB-91AI
The voice board in the format of the F-91W module. Kit: the board alone, you keep your watch.
Pre-order- Processor
- Nordic nRF52840 · Arm Cortex-M4F
- Wireless link
- Cobalt Link
- Microphone
- MEMS PDM
- Motion
- Accelerometer · gestures, steps, sleep
- Temperature
- Built-in sensor
- Display
- Original LCD · ROHM BU97930 driver
- Indicator light
- RGB LED
- Sound
- Buzzer
- Power
- The watch’s CR2016 coin cell
- Battery life
- Up to six months · twenty commands a day
- Size
- 20 mm
- Updates
- Wireless
- Firmware
- Zephyr · Apache-2.0
- Phones
- Android · iOS
- Assembly
- France